
Brighten up your Valentine’s Day with these fun and colorful Heart Cookies. Soft buttery sugar cookies topped with loving messages for everyone!

These Heart Cookies are soft, buttery sugar cookies inspired by the classic Conversation Hearts that are prominent every Valentine’s Day. The cookie dough is made, chilled, and cut into a heart shape then baked to perfection. They are then topped with a colorful royal icing and a handwritten message for your loved ones. You will love how soft and chewy these cookies are and topped with a bright and sweet royal icing to make anyone’s day brighter.
For more Valentine’s inspired treats you have to check out my Red Velvet Brownies, Crème Brûlée Cheesecake, and Strawberry Pound Cake.
Table of Contents
Recipe Ingredients
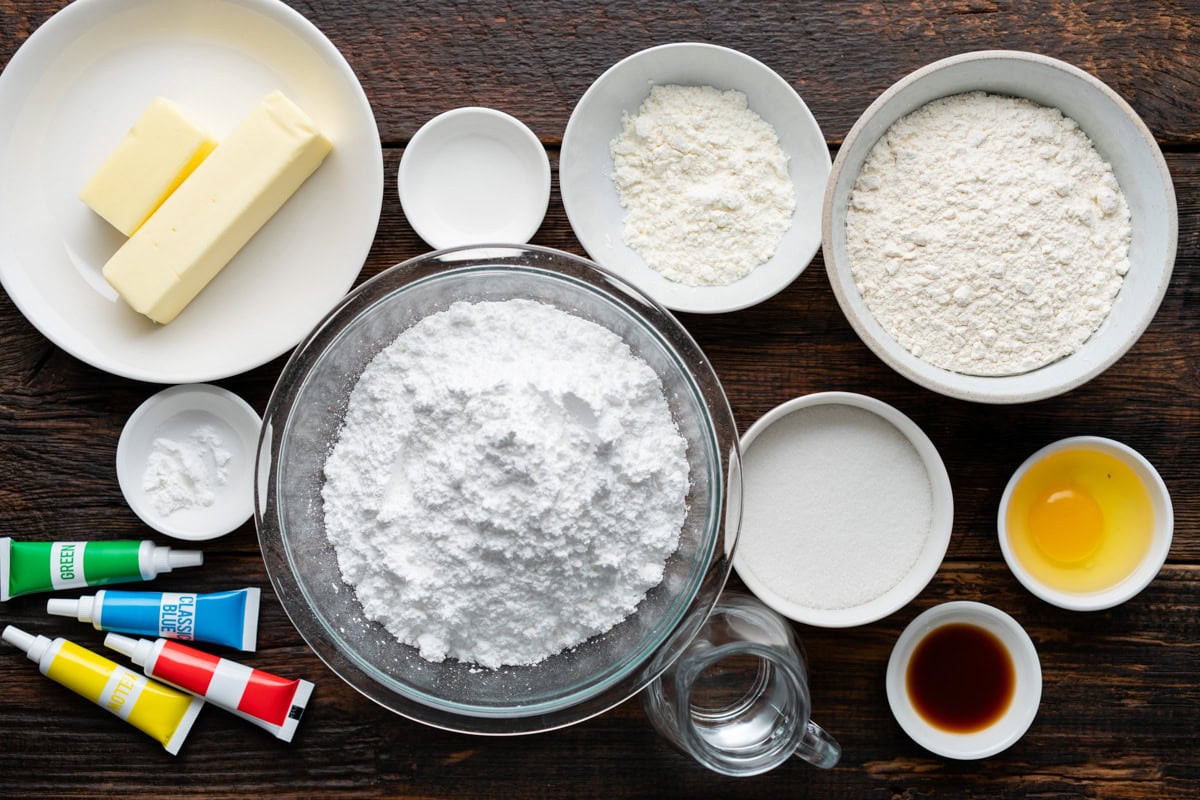
Food Coloring – To replicate the classic colors of the conversation heart candies.
Almond Extract – Adds in a hint of almond flavor that makes these cookies melt in your mouth.
Confectioner’s Sugar – The base for the sweet and smooth royal icing.
For a full list of ingredients and amounts see the recipe card below.
How to Make Heart Cookies
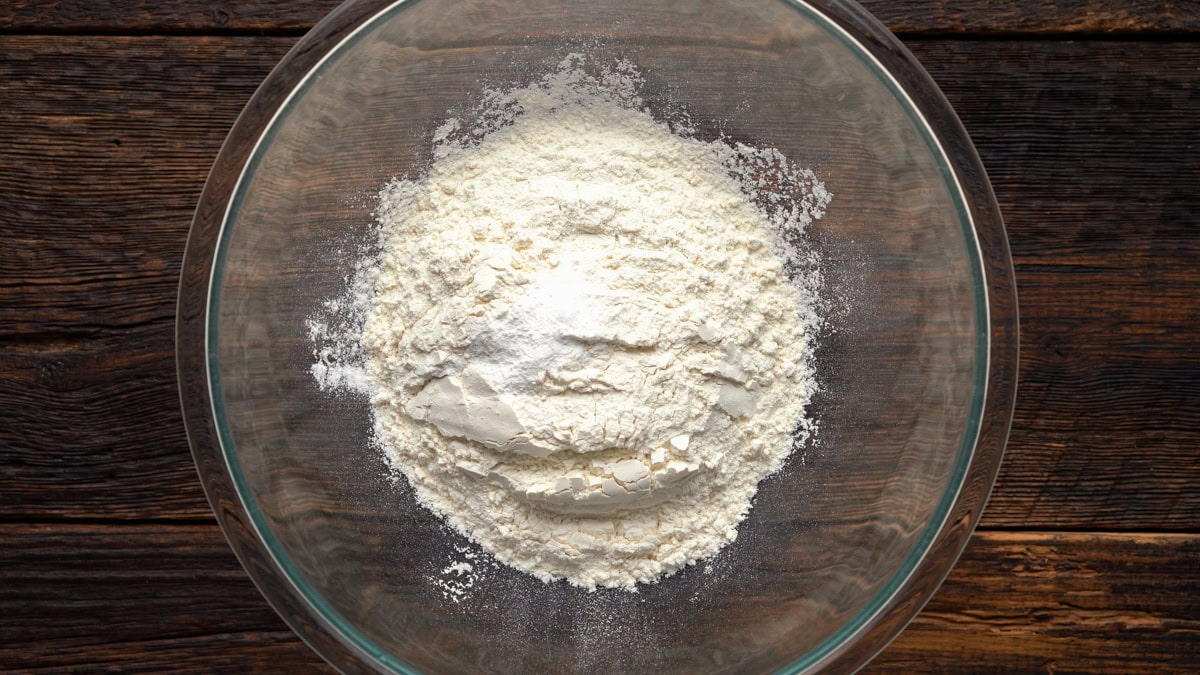
Step #1: In a medium bowl add the flour and baking powder and whisk together.
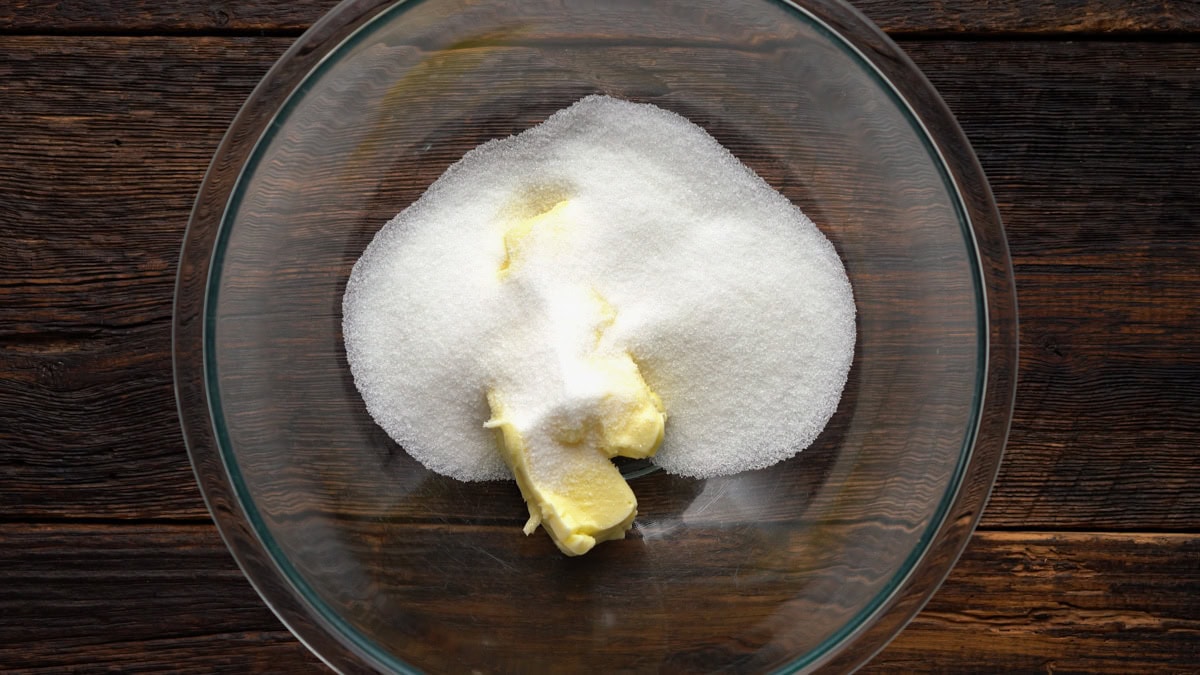
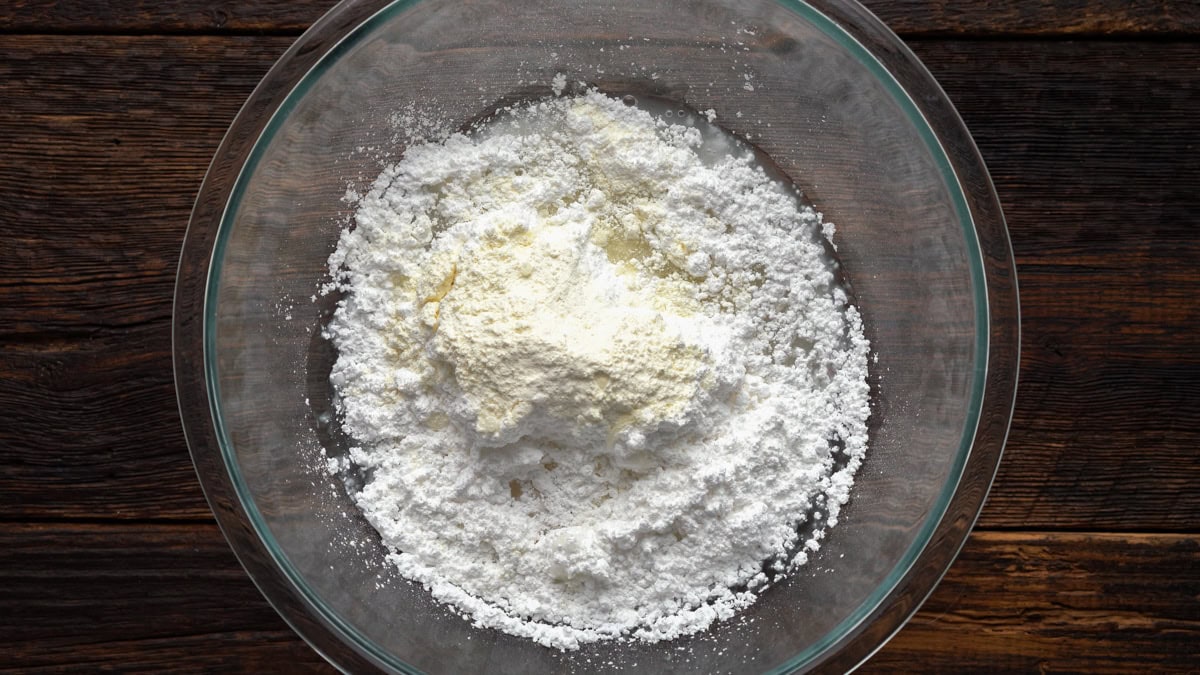
Step #2: In a large bowl, beat the butter and sugar together on high speed for 3 minutes.
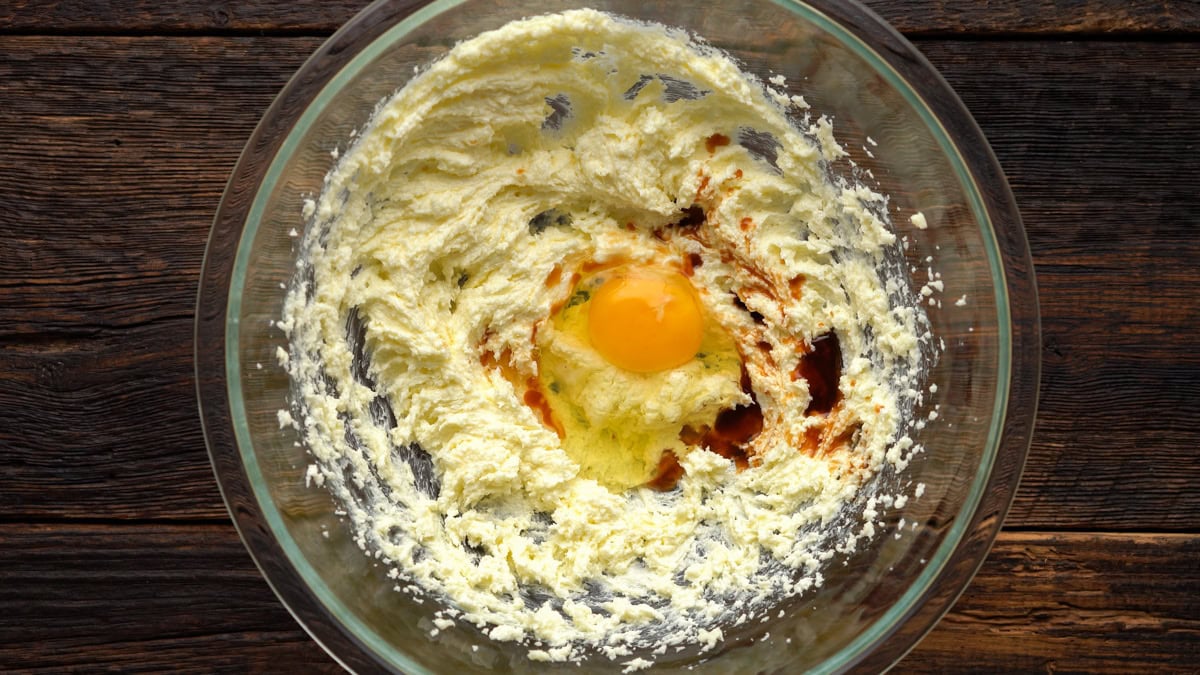
Step #3: Next, add the egg, vanilla, and almond extract and beat on high for 1 minute. Scrape down the sides as needed.
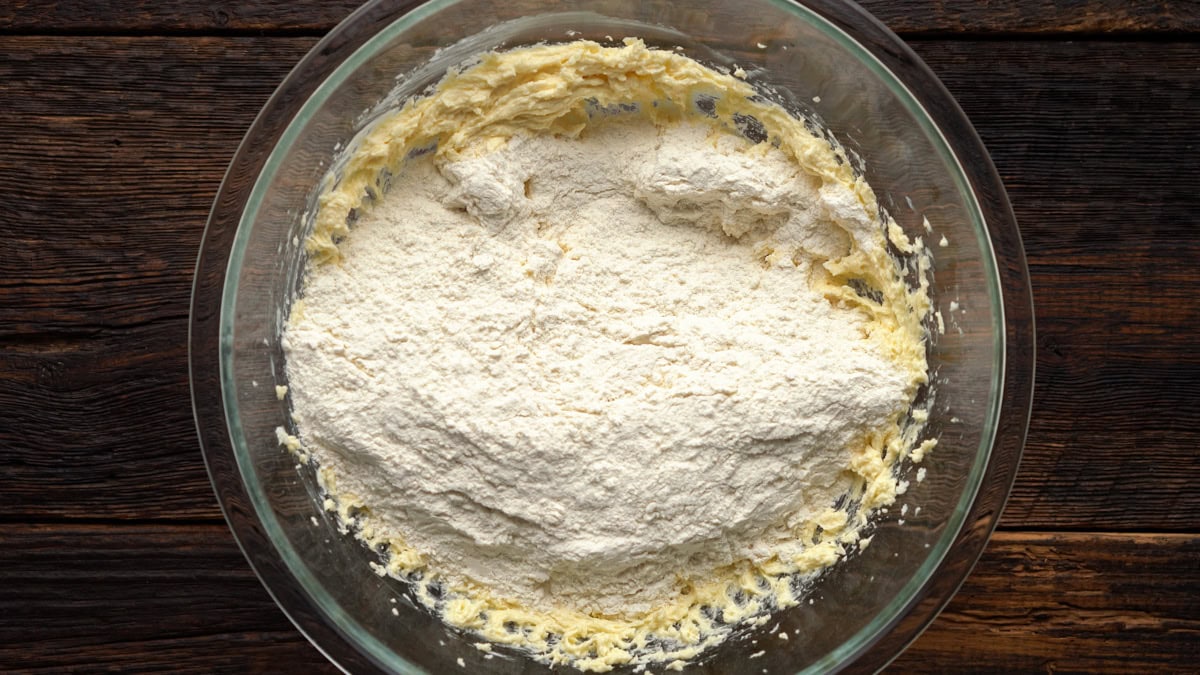
Step #4: Add the dry ingredients into the wet ingredients and mix until a dough forms.
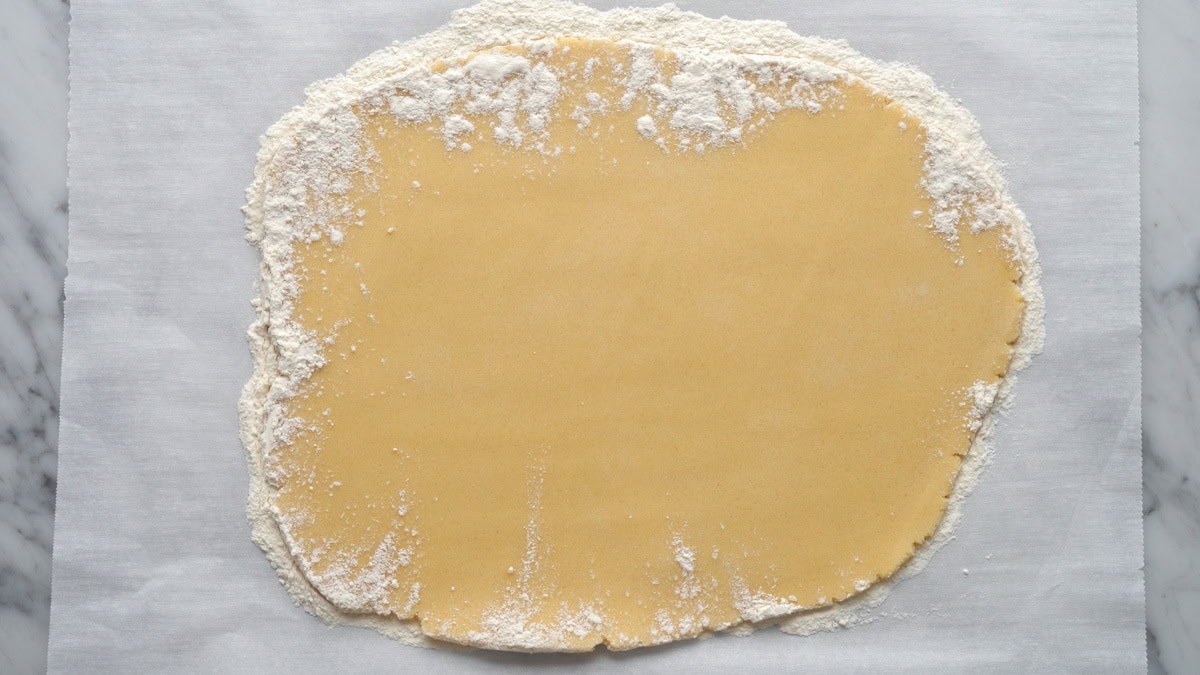
Step #5: Divide the dough into 2 and using a rolling pin, roll out each section on lightly floured parchment paper until it is about ¼ inch thick.
Step #6: Place the dough on a baking sheet and chill in the fridge for 1 hour.
Step #7: Once chilled, preheat your oven to 350 degrees Fahrenheit and line your baking sheets with parchment paper or silicone mats.
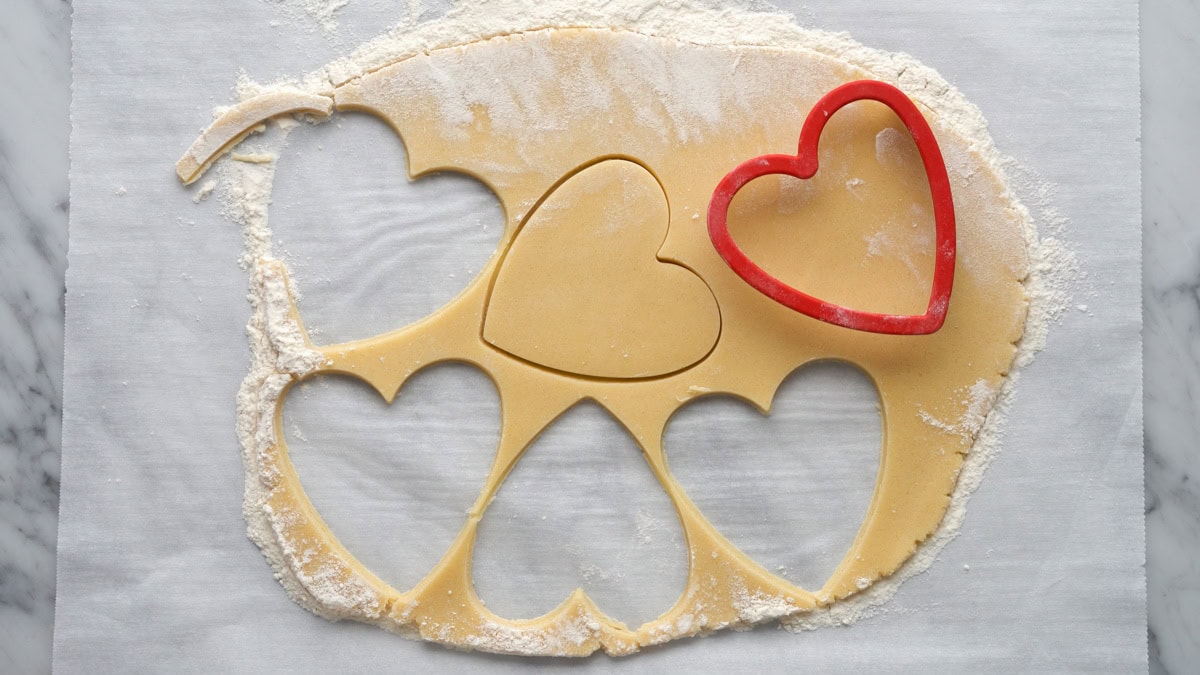
Step #8: Remove the chilled dough from the fridge and use a 3.5 inch heart cookie cutter cut the dough into hearts. Then re-roll the scraps and continue cutting them until all has been used. Note: You may want to chill the dough for a bit when you re-roll if it is getting too sticky.
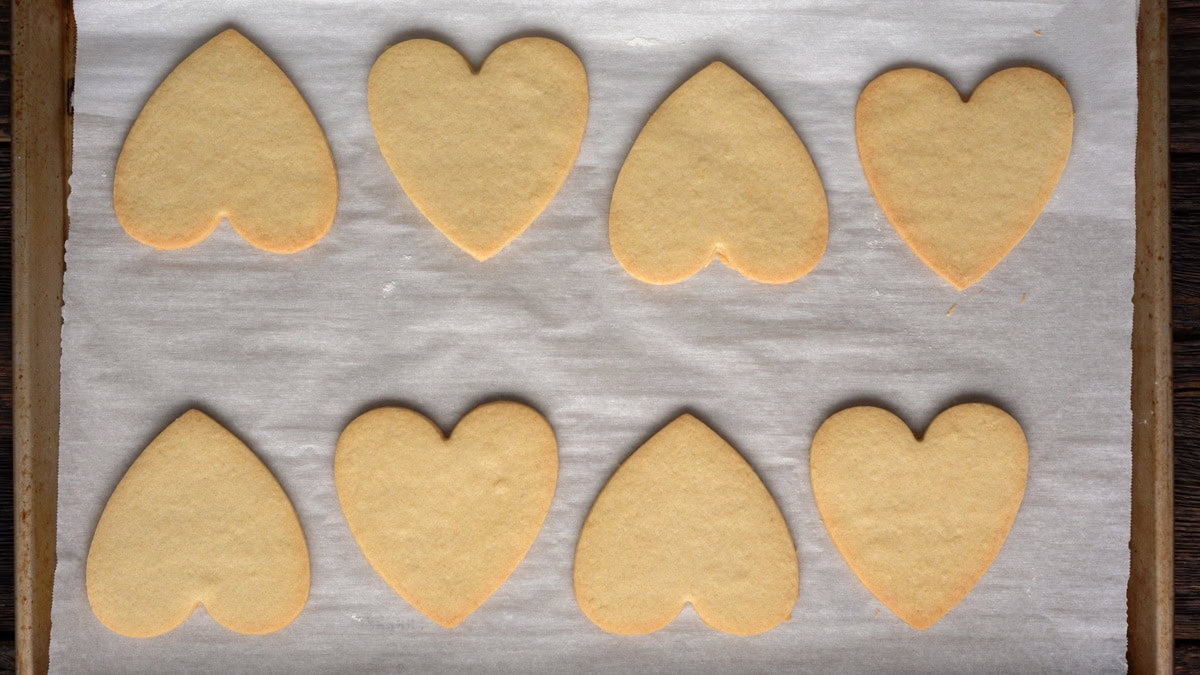
Step #9: Place the cut-out cookies on your prepared cookie sheets and bake them in the oven for 10-12 minutes until the edges of the cookies are lightly browned. Allow the cookies to cool completely before decorating.
Step #10: While the cookies are cooling, make the royal icing. In a large bowl using a hand mixer, whip together the confectioner’s sugar, meringue powder and water until everything is combined.
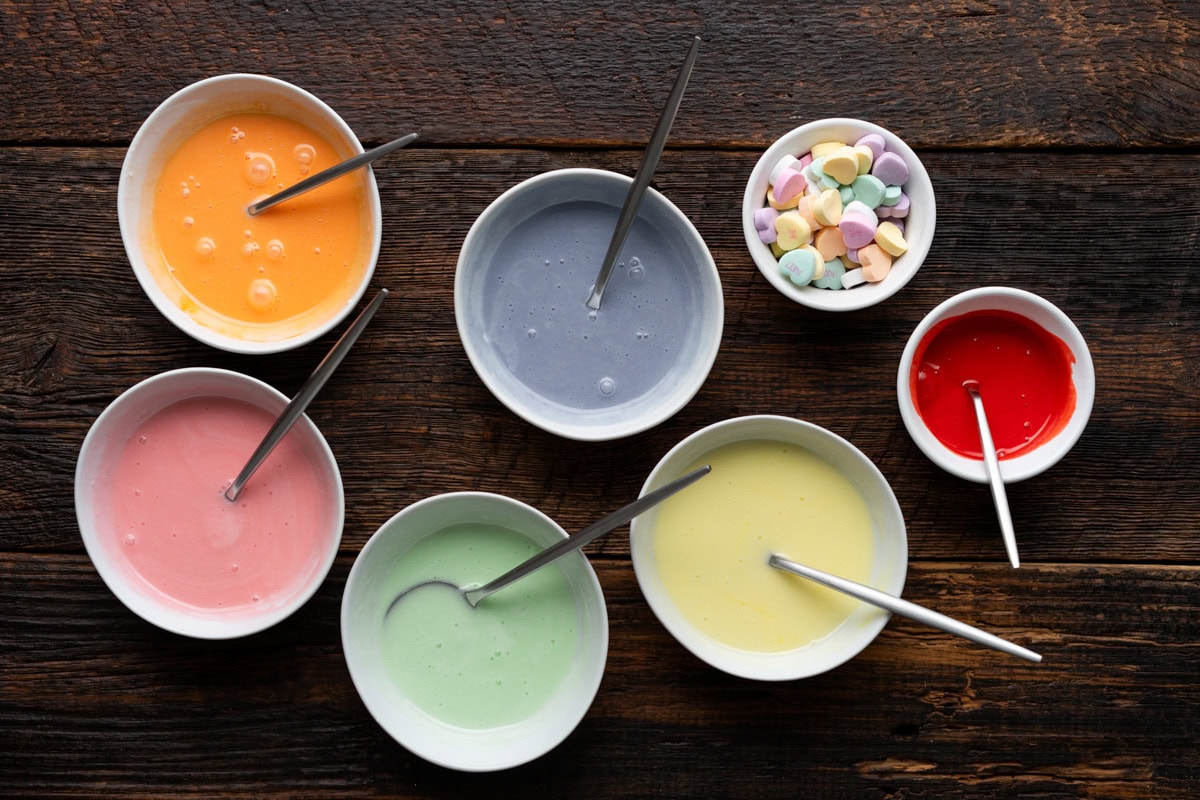
Step #11: Next separate the icing into 6 bowls, 5 larger for the heart colors, and one small bowl for the writing. Color each of the icing bowls to your preferred color, then place each in a piping bag. For the heart colors I recommend a piping tip #4. Outline the top of each cookie and then flood the inside until smooth. You can use a cookie scribe or similar utensil like a toothpick to remove any bubbles in the icing if needed.
Step #12: Let cookies set for 1-2 hours before writing on them.
Step #13: Pour the red icing into a piping bag with a round piping tip #2 and write your desired words onto the cookies. The writing will take 1-2 hours to set.
Step #14: Finally, serve and enjoy!

Expert Tips
Cookie Dough Consistency – If the cookie dough seems to sticky add in another Tablespoon of flour until you reach your desired consistency.
Chilling the Dough – I recommend chilling the dough after each re-roll until you have cut out all the heart cookies. This will make the dough less sticky and easier to work with.
Royal Icing – If your royal icing is too runny then add more powdered sugar until you reach a thicker consistency. You may also want the red icing for writing thicker than the icing for the cookies. This will allow the letters to hold their shape better and not run as much.
FAQs
Of course! These heart cookies can be made a week in advance and still be fresh!
Not necessarily. If you have other shapes you would rather use for your cookies go for it! Note this uses a 3.5 inch heart cookie cutter, if you use something smaller I would lower the baking time by a few minutes.
Yes. Wait until they have completely dried and place parchment paper between them and you can stack them.

Storage Information
You can store any leftovers of these conversation heart cookies in an airtight container on your counter at room temperature for a week. I would avoid storing them in your refrigerator because these cookies can soften and lose their smooth finish.
If you want to freeze these cookies you can wrap them in plastic wrap and place them in an airtight container in your freezer for up to 2 months.

Heart Cookies Recipe
RECOMMENDED PRODUCTS
Ingredients
For The Cookies
- 2 1/4 cups all-purpose flour
- 1/2 tsp baking powder
- 3/4 cup salted butter - softened
- 3/4 cup granulated sugar
- 1 egg
- 2 tsp vanilla extract
- 1/2 tsp almond extract
For the Royal Icing
- 4 cups confectioners' sugar
- 3 Tbsp meringue powder
- 8 Tbsp water
- gel food coloring
Instructions
- In a medium bowl add the flour and baking powder and whisk together.
- In a large bowl, beat the butter and sugar together on high speed for 3 minutes.
- Next, add the egg, vanilla, and almond extract and beat on high for 1 minute. Scrape down the sides as needed.
- Add the dry ingredients into the wet ingredients and mix until a dough forms.
- Divide the dough into 2 and roll out each section on lightly floured parchment paper until it is about ¼ inch thick.
- Place the dough on a baking sheet and chill in the fridge for 1 hour.
- Once chilled, preheat your oven to 350 degrees Fahrenheit and line your baking sheets with parchment paper.
- Remove the chilled dough from the fridge and use a 3.5 inch heart cookie cutter cut the dough into hearts. Then re-roll the scraps and continue cutting them until all has been used. Note: You may want to chill the dough for a bit when you re-roll if it is getting too sticky.
- Place the cookies on your prepared baking sheets and bake them in the oven for 10-12 minutes until the edges are lightly browned. Allow the cookies to cool completely before decorating.
- While the cookies are cooling, make the royal icing. In a large bowl using a hand mixer, whip together the confectioner's sugar, meringue powder and water until everything is combined.
- Next separate the icing into 6 bowls, 5 larger for the heart colors, and one small bowl for the writing. Color each of the icing bowls to your preferred color, then place each in a piping bag. For the heart colors I recommend a piping tip #4. Outline each heart cookie and then flood the inside until smooth. You can use a cookie scribe or toothpick to remove any bubbles in the icing if needed.
- Let cookies set for 1-2 hours before writing on them.
- Pour the red icing into a piping bag with a round piping tip #2 and write your desired words onto the cookies. The writing will take 1-2 hours to set.
- Finally, serve and enjoy!


These tasted really good, buttery with soft centers and lightly crisp edges.
I had to try these in advance of valentines day. They are so good, soft and with a hint of the almond flavor. Going to surprise my husband and kids with these on valentines.